DSAW Pipe
Double Submerged Arc Welded (DSAW) pipes for reliable and strong construction.
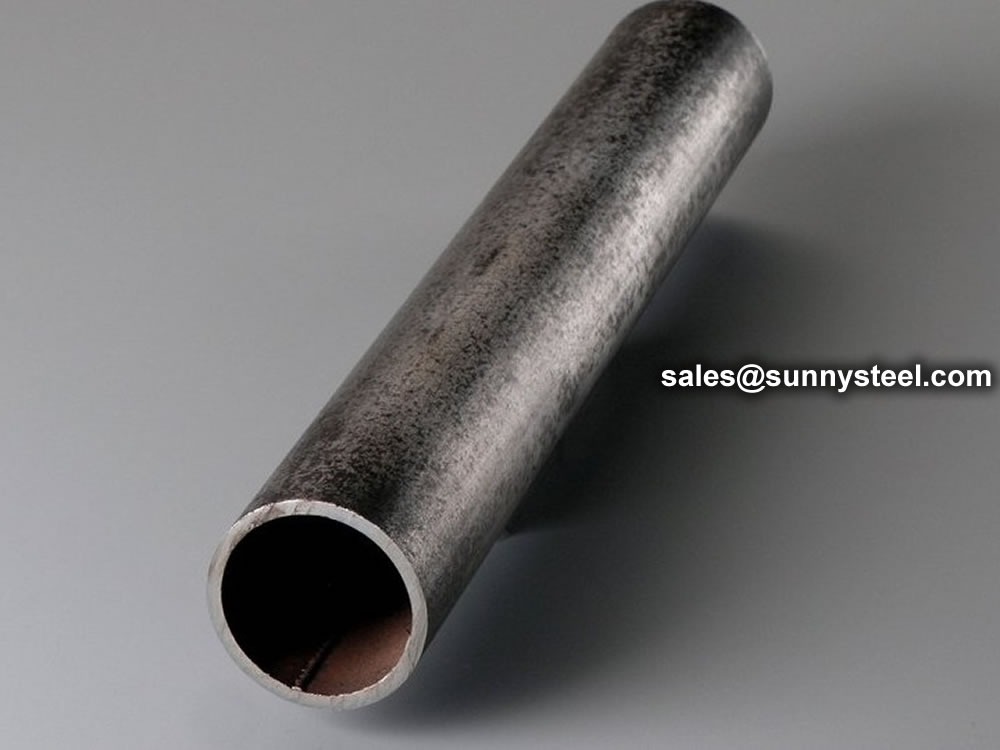
ASTM A500 tubing refers to cold-formed welded and seamless carbon steel tubes that are used for structural purposes.
When it comes to structural steel tubing, ASTM A500 is one of the most widely used standards in the industry. Whether you're working on construction projects, building industrial frameworks, or reinforcing infrastructure, ASTM A500 steel tubing offers a reliable, strong, and versatile solution. But what exactly is ASTM A500, and why is it so essential in structural engineering? This guide will provide an in-depth look at ASTM A500 tubing, exploring its grades, properties, applications, and why it's a go-to material for a range of construction needs.
ASTM A500 is a specification set by ASTM International for cold-formed welded and seamless carbon steel structural tubing. It covers tubing in various shapes, such as round, square, and rectangular, used primarily in structural applications. ASTM A500 steel tubing is designed to provide good mechanical properties and durability while remaining cost-effective. Its versatility and strength make it a key component in construction, infrastructure, and industrial projects.
ASTM A500 steel tubing is available in four primary grades, each with slightly different mechanical and chemical properties. These grades are tailored to meet various application requirements:
Grade A tubing has the lowest strength of the four grades, but it offers excellent ductility and is often used in non-critical applications.
Grade B is the most commonly used grade, offering a good balance between strength and ductility. It's used for a wide range of structural applications.
Grade C has higher tensile and yield strengths than Grades A and B. It’s typically used in applications where higher structural performance is needed.
Grade D, the strongest of the ASTM A500 grades, is often used in demanding structural applications that require maximum strength and durability.
ASTM A500 tubing comes in different shapes and sizes to suit a variety of structural needs:
Square tubing is commonly used in structural applications such as building frames, supports, and columns. Its uniform shape offers stability and strength.
Rectangular tubing is often used in load-bearing structures where a high strength-to-weight ratio is required. It provides greater surface area for attachments and reinforcements.
Round tubing is widely used in mechanical and construction applications. It offers good structural integrity and is easy to manufacture and weld.
While ASTM A36 is a common standard for hot-rolled steel, it is primarily used for plates and shapes. ASTM A500 tubing offers better dimensional accuracy and strength for hollow sections.
ASTM A53 is a standard for pipe rather than tubing and is often used for mechanical and pressure applications. ASTM A500, in contrast, is designed specifically for structural purposes and provides better strength for construction applications.
ERW is used to produce high-quality welded steel tubing by fusing the edges of steel strips together.
The tubing is shaped into its final form using cold-forming processes, which improve its mechanical properties and dimensional accuracy.
Although not always required, heat treatment can be used to enhance the toughness and durability of the steel tubing.
ASTM A500 Grade B tubing is produced and manufactured following a stringent and clearly laid out process that guarantees the tubing’s dependability, strength, and quality. Each stage of production—from choosing the raw materials to cold-forming, welding, heat treatment, sizing, and finishing—contributes to the tubing’s superior qualities. Construction professionals can rest assured that ASTM A500 Grade B tubing has been expertly fabricated to meet the stringent requirements of today’s building projects.
ASTM A500 tubing has strict dimensional tolerances to ensure quality and consistency. These tolerances include:
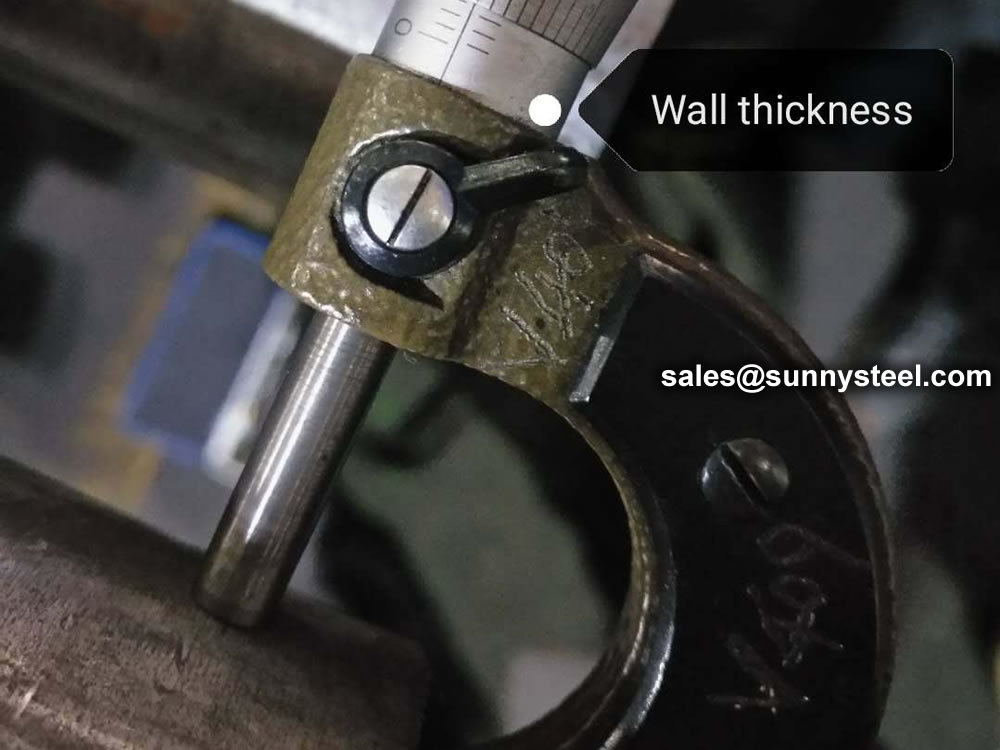
Wall thickness can range from light gauge to heavy gauge, depending on the application.
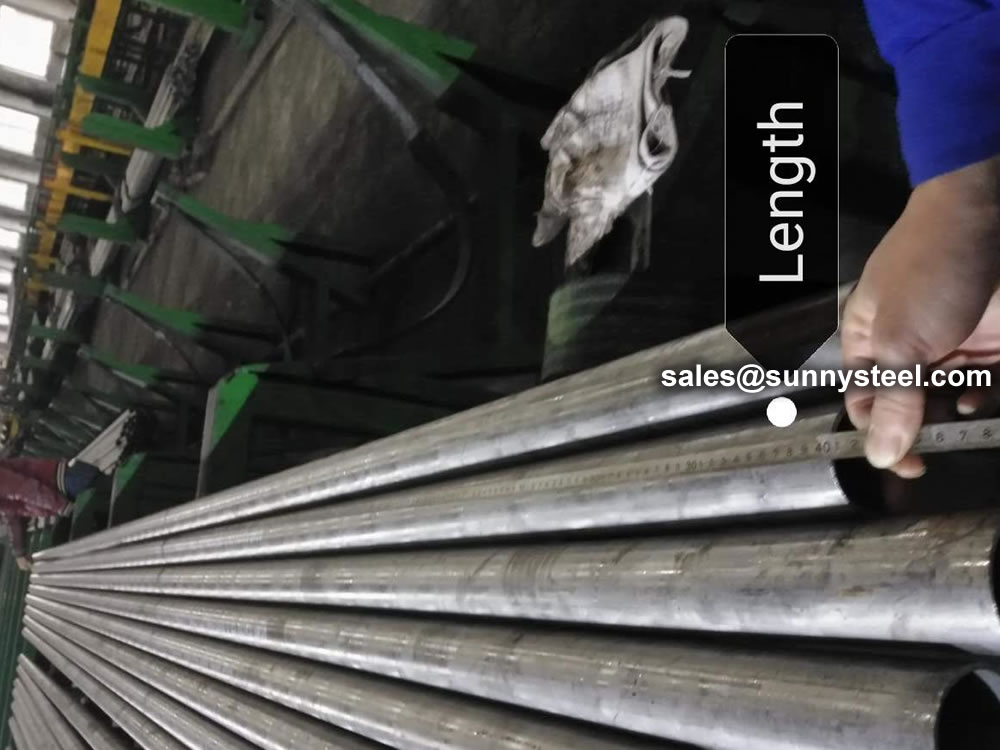
Standard lengths for ASTM A500 tubing are typically 20 to 24 feet, but custom lengths can be specified.
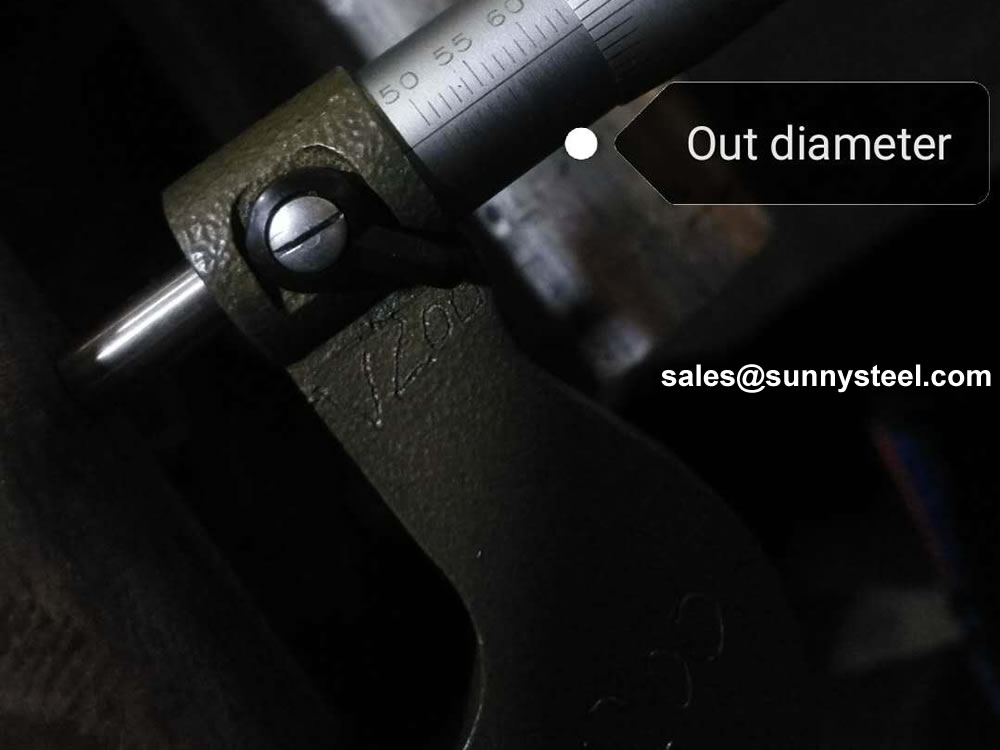
The outside diameter is controlled within narrow tolerances to ensure uniformity and fit in structural applications.
Although ASTM A500 tubing does not inherently provide strong corrosion resistance, protective coatings can be applied to enhance durability in harsh environments.
One common method is galvanization, where the tubing is coated with a layer of zinc to prevent rust.
In less demanding environments, paint or powder coating can be applied to protect the steel from moisture and oxidation.
ASTM A500 tubing must undergo rigorous inspection and testing before it can be certified for use. Common testing methods include:
NDT methods, like ultrasonic or radiographic testing, ensure that the tubing is free from internal defects.
Hydrostatic testing may be performed to verify the tubing's ability to handle pressure.
Visual inspections are conducted to check for surface defects, such as cracks or weld imperfections.
ASTM A500 tubing provides high strength while remaining relatively lightweight, making it easier to handle and install.
Its high strength-to-weight ratio and ease of fabrication make it a cost-effective solution for many structural projects.
The various shapes and sizes of ASTM A500 tubing allow for creative and efficient designs in construction and engineering.
Without protective coatings, ASTM A500 tubing is prone to rust, especially in outdoor or humid environments.
ASTM A500 tubing is not ideal for applications requiring high-temperature resistance, as its mechanical properties may degrade at elevated temperatures.
Steel is one of the most recyclable materials in the world, and ASTM A500 tubing is no exception. Recycling structural steel reduces the environmental impact of construction and contributes to green building standards, such as LEED certification.
ASTM A500 structural steel tubing is an essential component in modern construction and industrial applications. With its wide range of grades, shapes, and sizes, it offers strength, versatility, and cost-effectiveness for a variety of projects. Whether you're building a skyscraper, reinforcing a bridge, or constructing a factory framework, ASTM A500 tubing is a reliable and durable choice.
The mechanical standards outlined in ASTM A500 are critical for guaranteeing the structural integrity and performance of carbon steel tubing used in a variety of applications, including building and infrastructure projects. In this article, we will look at the mechanical standards given in ASTM A500, explaining their significance and how they contribute to the overall quality of structural tubes.
One of the basic mechanical requirements established in ASTM A500 is the minimum yield strength of steel tubing. Yield strength refers to the stress at which a material begins to deform plastically. ASTM A500 specifies varying minimum yield strengths based on the shape and grade of the tubing. The parameter is crucial in determining the load-bearing capacity and overall structural performance of the tubing.
Tensile strength is another important mechanical parameter described by ASTM A500. It represents the greatest stress that a material can endure when stretched or pulled before necking, which is the point of irreversible deformation. Tensile strength, like yield strength, varies depending on the required shape and grade of tubing. Tensile strength is vital for determining the tubing’s ability to sustain applied forces without failure.
Elongation measures a material’s ductility or stretchability before fracture. It is presented as a percentage and indicates the increase in the specimen’s initial length after stretching. ASTM A500 establishes the minimum elongation values for various kinds of tubes. In general, larger elongation values suggest superior ductility. This attribute is critical for determining the material’s response to deformation and strain.
In addition to mechanical parameters, ASTM A500 specifies the permitted variations in size and mass for various shapes of structural tubes. The standard applies to circular, square, rectangular, and unusual shapes. For example, it specifies the outside diameter, wall thickness, length, and straightness requirements for a round tube. These criteria ensure that the tubing fulfills the dimensions required for good fit and function in a variety of applications.
ASTM A500 also specifies the allowed deviations from straightness for structural tubes. The standard specifies how much the tube can depart from straight, ensuring that it is appropriate for construction and fabrication needs. Straightness is vital, especially in applications requiring perfect alignment and fit, such as building frames.
The standard specifies the permitted corner radiuses for square and rectangular tubing. These radii are critical for preventing stress concentrations at the corners, which can result in cracking or failure under load. By defining acceptable corner radii, ASTM A500 contributes to the structural integrity and durability of tubes in a variety of applications.
ASTM A500 addresses another mechanical property: twist. The standard establishes limitations on the allowable twist for square and rectangular tubes. The twist is the rotation of one end of a tube relative to the other. Controlling twist is critical for maintaining the structural stability and look of the tubing, especially in applications that need aesthetics and alignment.
Due to its versatility, ASTM A500 tubing is used in a wide range of industries and applications, including:
In construction, ASTM A500 tubing is used in the framing of buildings, bridges, and towers. Its strength and light weight make it an ideal choice for load-bearing structures.
Manufacturers use ASTM A500 tubing to create frameworks for machinery, storage racks, and support systems in factories and warehouses.
ASTM A500 tubing plays a critical role in reinforcing infrastructure, including railways, highways, and utility poles.
It is also used in the automotive and transportation sectors for vehicle frames, trailers, and other components where strength is crucial.
1.1 This specification covers cold-formed welded and seamless carbon steel round, square, rectangular, or special shape structural tubing for welded, riveted, or bolted construction of bridges and buildings, and for general structural purposes.
1.2 This tubing is produced in both welded and seamless sizes with a periphery of 64 in. (1626 mm) or less, and a specified wall thickness of 0.625 in. (15.88 mm) or less. Grade D requires heat treatment.
Note 1—Products manufactured to this specification may not be suitable for those applications such as dynamically loaded elements in welded structures, etc., where low-temperature notch-toughness properties may be important.
1.3 The values stated in inch-pound units are to be regarded as standard. The values given in parentheses are mathematical conversions of the values in inch-pound units to values in SI units.
1.4 The text of this specification contains notes and footnotes that provide explanatory material. Such notes and footnotes, excluding those in tables and figures, do not contain any mandatory requirements.
ASTM A500 Seamless Square Hollow Section Tube
ASTM A500 SHS Pipe is used in structural applications for its strength. The specification covers cold formed, welded and seamless carbon steel tubing for structural applications with round and shapes of Grade A, B, C or D. The A500 Grade B Square Tube is used for its known structural strength because of the geometric shape. The pipes come in 1/8 inches to 30 inches of nominal bore sizes.
According to the chemical composition, tensile strength and heat treatment, A500 cold bending pipe is divided into four grades (A/B/C/D).Square and rectangular yield strength requirements are higher than for round tubes.The minimum copper content is optional.Class D must be heat treated.
| Element | Grades A, B and D | Grace C | ||
|---|---|---|---|---|
| Heat | Product | Heat | Product | |
| Analysis | Analysis | Analysis | Analysis | |
| Carbon, max | 0.26 | 0.3 | 0.23 | 0.27 |
| Manganese, max | ... | ... | 1.35 | 1.4 |
| Phosphorus, max | 0.035 | 0.045 | 0.035 | 0.045 |
| Sulfur, max | 0.035 | 0.045 | 0.035 | 0.045 |
| Copper, when copper steel | 0.2 | 0.18 | 0.2 | 0.18 |
| is specified, min | ||||
Tensile strength refers to the amount of stretching stress a material can withstand before breaking or failing. The ultimate tensile strength of A500 carbon steel is calculated by dividing the area of the steel by the stress placed on it, which is expressed in terms of pounds or tons per square inch of material. Tensile strength is an important measure of A500’s ability to perform in an application.
Below are physical properties required to meet the three grades that we produce ASTM A500 square, rectangle and special shaped tubing to. A flattening test is not a standard requirement for non-round tubing produced to A500.
| Grade | Yield (min) | Tensile (min) | Elongation (min) |
|---|---|---|---|
| Grade A | 39,000 psi | 45,000 psi | Determined by wall |
| Grade B | 46,000 psi | 58,000 psi | Determined by wall |
| Grade C | 50,000 psi | 62,000 psi | Determined by wall |
Below are physical properties required to meet the three grades that we produce ASTM A500 round tubing to. A flattening test is also a standard requirement for round tubing produced to the A500 specification.
| Grade | Yield(min) | Tensile (min) | Elongation (min) |
|---|---|---|---|
| Grade A | 33,000 psi | 45,000 psi | Determined by wall |
| Grade B | 42,000 psi | 58,000 psi | Determined by wall |
| Grade C | 46,000 psi | 62,000 psi | Determined by wall |
Grade C offers higher tensile and yield strengths compared to Grade B, making it more suitable for demanding structural applications.
While ASTM A500 tubing can be used in marine environments, it should be coated or galvanized to protect against corrosion from saltwater exposure.
ASTM A500 tubing is typically installed using welding or mechanical fasteners, depending on the application.
ASTM A500 tubing has strict tolerances for wall thickness, length, and outside diameter to ensure consistency in structural applications.
ASTM A500 tubing is designed for structural use rather than high-pressure applications. For high-pressure systems, standards like ASTM A53 are more appropriate.
| Product Name | Executive Standard | Dimension (mm) | Steel Code / Steel Grade |
|---|---|---|---|
| Casting | API 5CT | Ø48.3~273 x WT2.77~11.43 | J55, K55, N80, L80 |
| Tubing | API 5CT | Ø48.3~273 x WT2.77~11.43 | J55, K55, N80, L80, H40 |
| Product Name | Executive Standard | Dimension (mm) | Steel Code / Steel Grade |
|---|---|---|---|
| Line Pipes | API 5L | Ø60.3~273.1 x WT2.77~12.7 | A25, A, B, X42, X46, X52, X56, X60, X65, X70, X80 |
| Product Name | Executive Standard | Dimension (mm) | Steel Code / Steel Grade |
|---|---|---|---|
| Electric-Resistance-Welded Steel Pipes | ASTM A135 | Ø42.2~114.3 x WT2.11~2.63 | A |
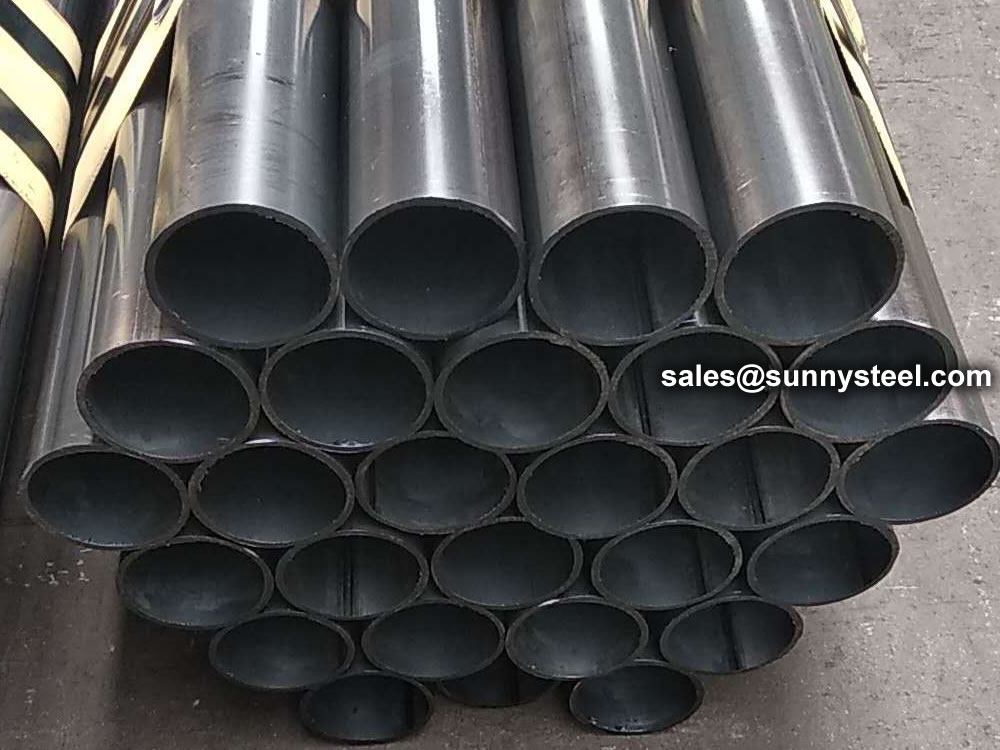
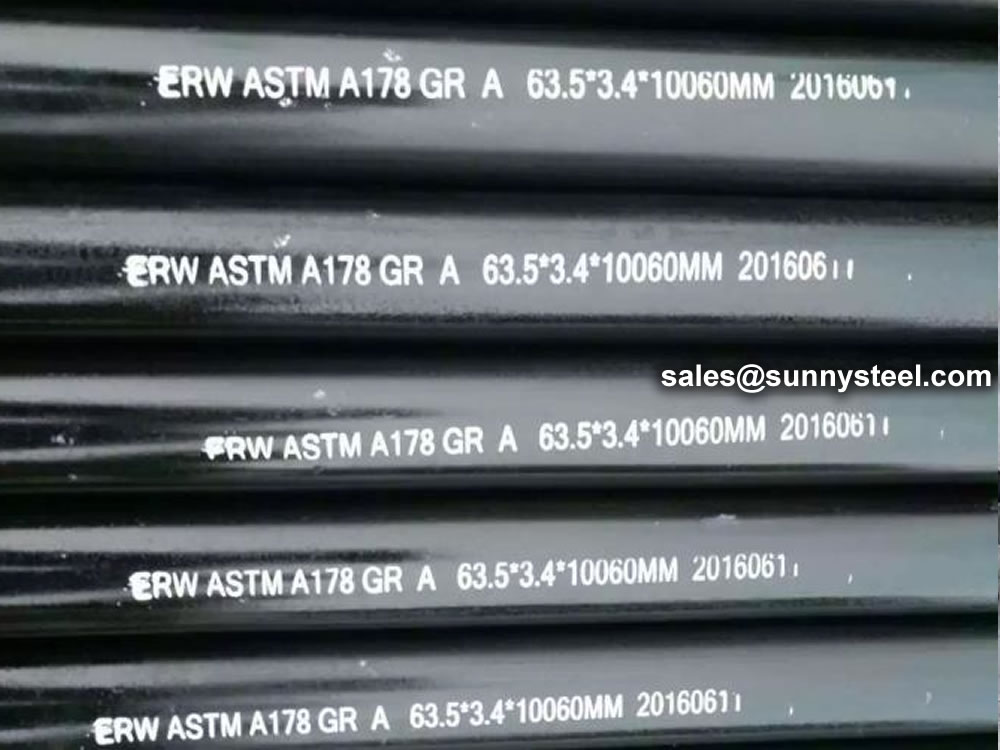
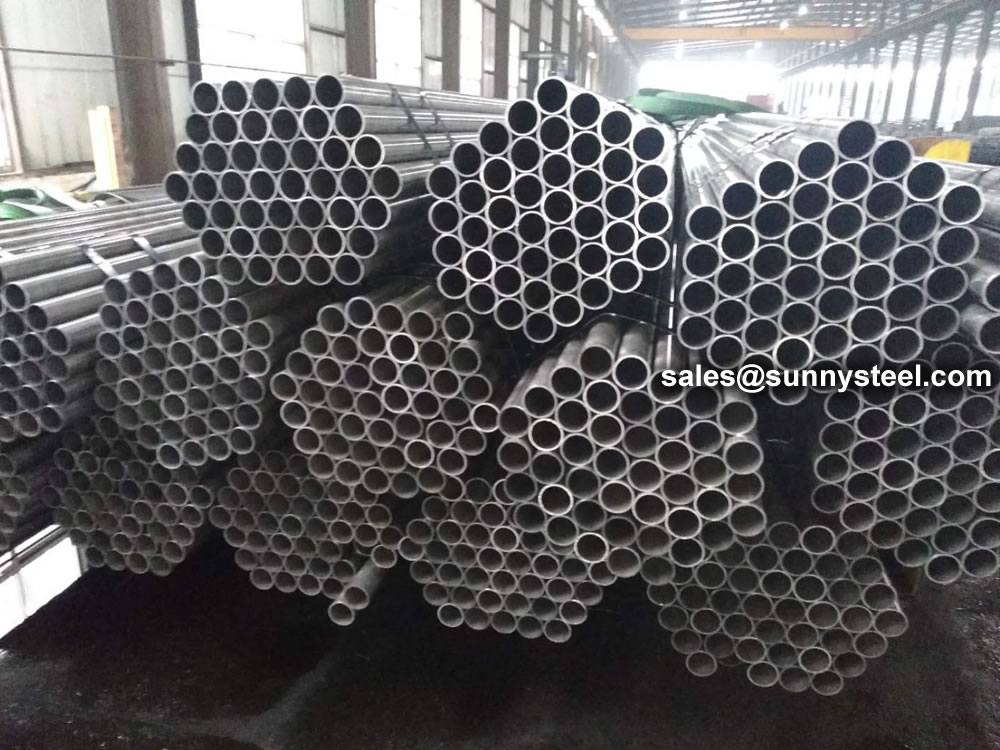
| Electric-Resistance-Welded Carbon Steel and Carbon-Manganese Steel Boiler and Superheater Tubes | ASTM A178 | 42.2-114.3 x 2.11-2.63 | A, C, D |
| ERW and Hot-dip Galvanized Steel Pipes | ASTM A53 | Ø21.3~273 x WT2.11~12.7 | A, B |
| Pipes for Piling Usage | ASTM A252 | Ø219.1~508 x WT3.6~12.7 | Gr.2, Gr.3 |
| Tubes for General Structural Purpose | ASTM A500 | Ø21.3~273 x WT2.11~12.7 | Gr.2, Gr.3 |
| Square Pipes for General Structural Purpose | ASTM A500 | 25 x 25~160 x 160 x WT1.2~8.0 | Carbon Steel |
| Product Name | Executive Standard | Dimension (mm) | Steel Code / Steel Grade |
|---|---|---|---|
| Threaded Steel Pipes | DIN 2440 | Ø21~164 x WT2.65~4.85 | Carbon Steel |
| Product Name | Executive Standard | Dimension (mm) | Steel Code / Steel Grade |
|---|---|---|---|
| Screwed and Socketed Steel Tubes | BS 1387 | Ø21.4~113.9 x WT2~3.6 | Carbon Steel |
| Scaffolding Pipes | EN 39 | Ø48.3 x WT3.2~4 | Carbon Steel |
| Product Name | Executive Standard | Dimension (mm) | Steel Code / Steel Grade |
|---|---|---|---|
| Carbon Steel Tubes for General Structure Purpose | JIS G3444 | Ø21.7~216.3 x WT2.0~6.0 | Carbon Steel |
| Carbon Steel Tubes for Machine Structure Purpose | JIS G3445 | Ø15~76 x WT0.7~3.0 | STKM11A, STKM13A |
| Carbon Steel Pipes for Ordinary Piping | JIS G3452 | Ø21.9~216.3 x WT2.8~5.8 | Carbon Steel |
| Carbon Steel Pipes for Pressure Service | JIS G3454 | Ø21.7~216.3 x WT2.8~7.1 | Carbon Steel |
| Carbon Steel Rigid Steel Conduits | JIS G8305 | Ø21~113.4 x WT1.2~3.5 | G16~G104, C19~C75, E19~E75 |
| Carbon Steel Rectangular Pipes for General Structure | JIS G3466 | 16 x 16~150 x 150 x WT0.7~6 | Carbon Steel |
The alloy content of the coil is often lower than similar grades of steel plate, improving the weldability of the spiral welded pipe. Due to the rolling direction of spiral welded pipe coil is not perpendicular to the pipe axis direction, the crack resistance of the spiral welded pipe materials.
Welded steel pipe refers to a steel pipe with seams on the surface that is welded by bending and deforming a steel strip or steel plate into a circular, square or other shape. The blanks used for welded steel pipes are steel sheets or strips.
Since the 1930s, with the rapid development of continuous rolling production of high-quality strip steel and the advancement of welding and inspection technology, the quality of welds has been continuously improved, and the varieties and specifications of welded steel pipes have been increasing.
When the T-shaped welded steel pipe contains Ni, it has strong corrosion resistance in an acidic environment. In an environment containing sulfuric acid or hydrochloric acid, the higher the Ni content in the T-shaped welded steel pipe, the stronger the corrosion resistance. Under normal circumstances, only adding Cr to the T-shaped welded steel pipe can prevent the phenomenon of corrosion. The poor edge condition of the strip is another important cause of misalignment. The effects of changes in mass flow, heat flow density and structural parameters (ratio of helical curvature diameter to T-shaped welded steel pipe diameter Dc/D) on the heat transfer coefficient of saturated bubble boiling in vertical spiral pipes.
During the production of T-shaped welded steel pipes, misalignment occurs from time to time, and there are many influencing factors. In production practice, the steel pipe is often degraded by the wrong side and out of tolerance. Therefore, it is necessary to analyze the reasons for the misalignment of the spiral steel pipe and its preventive measures.
Due to the poor shape and dimensional accuracy of the head and tail of the uncut steel strip, it is easy to cause the steel strip to bend hard and cause misalignment during butt joint. Simulation parameter range: vertical pipe: pipe diameter D=10mm, pipe length L=660mm; three types of vertical T-shaped welded steel pipe: pipe diameter D=10mm, the change of the ratio of the curvature diameter of the T-shaped welded steel pipe to the spiral pipe diameter is Dc /D=15, 20, 25, helical pitch Pt=20mm, tube lengths are L=503mm, L=660mm, L=817mm respectively. Mass flow G=200~400Kg/(m'2 s), heat flux density q=5~15KW/m'2, saturation pressure p, saturation=0.414880MPa, saturation temperature T, saturation=283.15K.
The technical requirements and inspection of welded pipes are based on the provisions of the GB3092 "Welded Steel Pipes for Low-Pressure Fluid Transmission". It can be delivered according to fixed length or double length. The surface of the steel pipe should be smooth, and defects such as folds, cracks, delamination, and lap welding are not allowed. The surface of the steel pipe is allowed to have minor defects such as scratches, scratches, weld misalignment, burns and scars that do not exceed the negative deviation of the wall thickness. The thickening of the wall thickness and the presence of inner seam weld bars are allowed at the weld.
Welded steel pipes should be subjected to mechanical performance test, flattening test and flaring test, and must meet the requirements of the standard. When the steel pipe should be able to withstand the internal pressure, carry out a pressure test of 2.5Mpa, and keep it for one minute without leakage. The method of eddy current flaw detection is allowed to replace the hydrostatic test. The eddy current flaw detection is carried out according to the standard of GB7735 "Steel tube eddy current flaw detection inspection method". The eddy current flaw detection method is to fix the probe on the frame, keep a distance of 3~5mm between the flaw detection and the weld seam, and conduct a comprehensive scan of the weld seam by the rapid movement of the steel pipe. The flaw detection signal is automatically processed and sorted by the eddy current flaw detector. To achieve the purpose of flaw detection. The welded pipe after the flaw detection is cut off according to the specified length with a flying saw, and it is rolled off the assembly line through the turning frame. Both ends of the steel pipe should be chamfered with flat ends, printed with marks, and the finished pipes are packed in hexagonal bundles before leaving the factory.
Straight seam steel pipe is a steel pipe whose weld seam is parallel to the longitudinal direction of the steel pipe. Generally, its strength is higher than that of straight seam welded pipe. Narrower billets can be used to produce welded pipes with larger diameters, and the same width of billets can be used to produce welded pipes with different pipe diameters. But compared with the straight seam pipe of the same length, the weld length is increased by 30~100%, and the production speed is lower. So what are its processing methods?
The surface quenching and tempering heat treatment of straight seam welded pipe is usually carried out by induction heating or flame heating. The main technical parameters are surface hardness, local hardness and effective hardened layer depth. Vickers hardness tester can be used for hardness testing, and Rockwell or superficial Rockwell hardness tester can also be used. When the surface heat treatment hardened layer is thick, the Rockwell hardness tester can also be used. When the thickness of the heat-treated hardened layer is 0.4-0.8mm, the HRA scale can be used, and when the thickness of the hardened layer exceeds 0.8mm, the HRC scale can be used.
If the parts require high local hardness, local quenching heat treatment can be carried out by means of induction heating. Such longitudinal welded pipes usually need to mark the location of local quenching heat treatment and local hardness value on the drawing. Hardness testing of longitudinally welded pipes shall be carried out in the area. The hardness testing instrument can use a Rockwell hardness tester to test the HRC hardness value. If the heat-treated hardened layer is shallow, a surface Rockwell hardness tester can be used to test the HRN hardness value.
The three hardness values of Vickers, Rockwell and Superficial Rockwell can be easily converted to each other and converted into hardness values required by standards, drawings or users. The corresponding conversion tables are given in the international standard ISO, the American standard ASTM and the Chinese standard GB/T.

When you partner with Sunny Steel, you can stop worrying about meeting deadlines thanks to our responsive and timely service. You'll also say goodbye to unnecessary shopping around. Instead, you'll get white glove service from an expert who understands your needs and can get you the materials you need quickly.
